Cabinet Layout - KD Max 3D Kitchen Design Software South Africa
Main menu:
Layout
Cabinet Layout
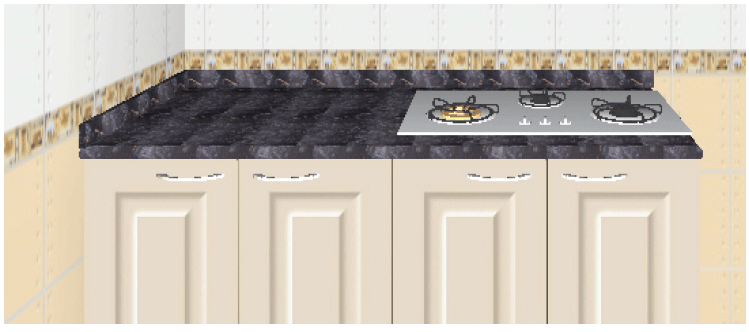
This part mainly introduces how to arrange the kitchen cabinets and accessories such as base unit, wall unit, sink unit and cooking range.
Step:
1. Click Layout Show Layout Window (or press Shortcut key F2 directly, or left click the shortcut
on tool bar 1);
2. The product library appears on the left. Select the door style and unit to be arranged. You can change the width, depth, height and its position of the unit. Then click the “Layout ->” button or double click the product to start the layout.

3. After click the ‘layout’ button, move the cursor into the 3D room (or we can call it ‘drawing area’). The system has intelligent locating function. It will snap the cabinet to a proper location. Then left click to layout the cabinet.
In KD Max V4.5, there are two new functions for user to select cabinet.
A. Search type
Left click ‘Search type’ button, the select type dialogue will appear.

First select the cabinet type, such as base unit. And then select key words for search. You can select more than one key word to search the cabinet.

And then double click the cabinet picture to load the model. It will be shown in the library immediately. You could select it from library and input it to the scene.

B. Select type by folder.
Left click ‘Select type by folder’ button, the selection dialogue will appear.

Now, you can select a folder from the left and double click the cabinet picture to load the cabinet to library.
Intelligent location function
When locating the cabinet, the system will automatically find the proper location for the cabinet according to the size the cabinet, the position of door and window. By moving the mouse, you can locate the cabinet to any places of the room. When the cabinet gets close to the wall or other unit, it will snap to it automatically. And then the surface that attach to wall or unit will be marked with a blue frame.

Align: When locating the cabinet, moving the mouse forward and backward will help you to align the cabinet with other objects in the room.
Useful key when locating cabinet
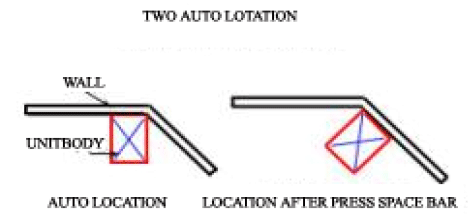
Space Bar: when laying out the unit, the space bar has two functions: (1) to rotate the unit; (2) to choose units that have more than one possible location, as shown in the illustration below, by pressing space bar you can change the arrangement direction.
Arrangement of the kitchen cabinet unit when there is a corner of non-90 degrees
There are two possibilities of the non-90 degrees corner: less than 180 degrees and more than 180 degrees. Next we will introduce their arrangement methods separately.
1. To those non-90 degrees corners that are less than 180 degrees, there are 2 conditions: one unit in the corner or two units in the corner. As shown in the figure, when select the “Auto add worktop” command, the system can find the corner automatically and deploy the worktop correctly. Other units such as the skirt board can also be deployed automatically.

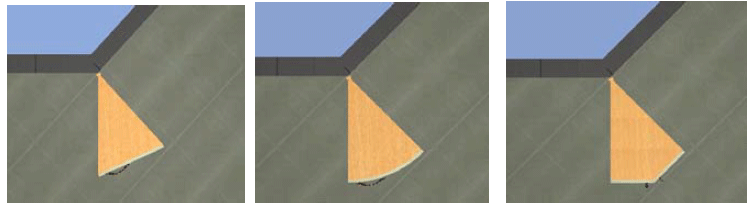
2. To those non-90 degrees corners that are more than 180 degrees, the system provides 3 units: triangle, arc and pentagon unit, as shown in the figure below. To them, the deploy method is the same. Select certain specific product from the “09: more than 180 degrees corner cupboard” in the product select dialogue box. After select the “Layout” button according to the system prompt, select two walls separately and the system will arrange the corresponding cupboard automatically according to the location of the selected wall.
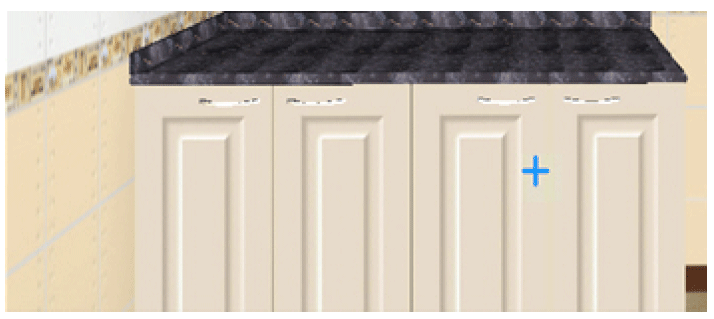
Filler panel
When layout the cabinet, there are some places where we need to use the filler panel. Choose the filler panel from the layout window; you can define the width of filler panel in order to fit the space.
When installing filler, you need to select a wall as base.
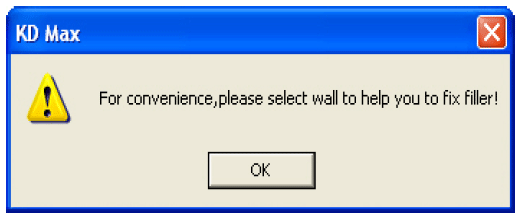
Then left click to select a wall, the filler will snap to this wall. Left click again to install it.

Modify the size of product
The products in the system product library have the fixed width, depth and height. You can also modify size of selected unit as you like.
Step:
1. Select the kitchen cabinet unit from the library;
2. The width, depth and height of this product will be displayed in the library. User can modify them as requirements.

3. Select “Layout” to deploy the kitchen cabinet unit. And the unit size is the new size input by the user.
Locating Method of the Product
The system provides all together 17 product locating methods. For different
product, there are one or several locating methods. First select one locating method then click ‘Layout’ to layout the product. Below is detailed description of the 17 locating methods:
1) On floor: Layout the models on the floor.

2) On toekick: When layout the models, for example the base unit will have an elevation for the plinth. This function is for layout the base unit an tall unit..

3) At wallunit elevation: When layout the models, for example the wall unit will have a certain height from the floor and other models will be the same high as the wall unit.

4) On worktop: Layout models on the worktop. This function is used for the household appliances.

5) On worktop (by unit): Layout models on the worktop by selecting the base unit. Use this function can layout the appliance precisely.
First, select the model to put it on the worktop of certain base unit.
Click layout button, and left click to select the base unit.
It will pop up the dialogue for the user to set the position of the model. The yellow line stands for the base unit, the blue line stands for the appliance. Cancel the “Equality bet” and input the distance of the appliance to the side of the bas unit to set the accurate position. Click “OK” to finish.

The appliance will be on the worktop.
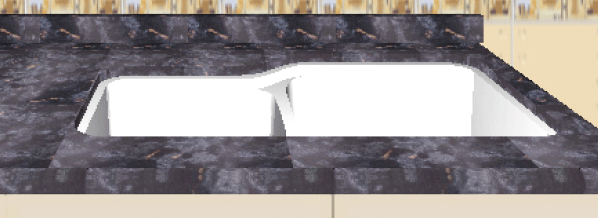
6) In worktop (by unit): Layout models in the worktop by selecting the base unit. This function is for the sink.
The option of this function is the same as on worktop (by unit). But after setting the position and click “OK”, it pop up a dialogue shows “Be underworktop sink?” If click “Yes”, the sink will be lower than the worktop.
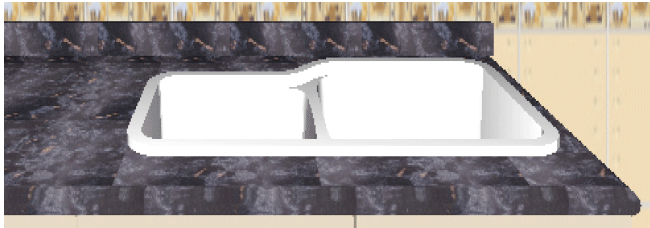
If click “No”, the sink will be on the worktop.
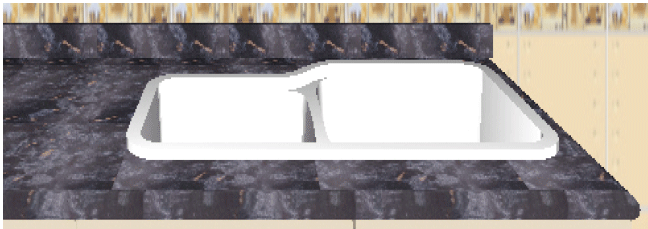
7) Under worktop (by unit): Layout models under the worktop by selecting the base unit. The option of this function is the same as on worktop (by unit). And the sink will be laid out under the worktop automatically.
8) Over selected object: Layout models over the selected object. This function can be use for all the models in KD Max. The option is the same as on worktop (by unit).